You will eventually need to learn how to repot a plant if you grow greenery to spruce up your interiors, regardless of your level of plant parenting experience.
Repotting may be unsettling to you if you’re not experienced with gardening or plant care, particularly if you’re worried about your indoor shrubs’ survival during the move.
A new planter or pot may be required at some point, even though there are many houseplants that you can purchase that are nearly hard to kill, such as aloe, yuca, air, and spider plants.
Large houseplants are difficult to maneuver because you have to move them from room to room due to their size.
It’s best to ask for assistance because it’s heavy. Nonetheless, repotting a large plant ought to be simple with the right planning.
How to Repot a Plant Like a Pro
Plants can become stressed during repotting, so you need to make sure you know what you’re doing.
When repotting, the last thing you want to happen is to unintentionally kill your plant. Use the helpful, step-by-step instructions below.
1. Choose a New Pot
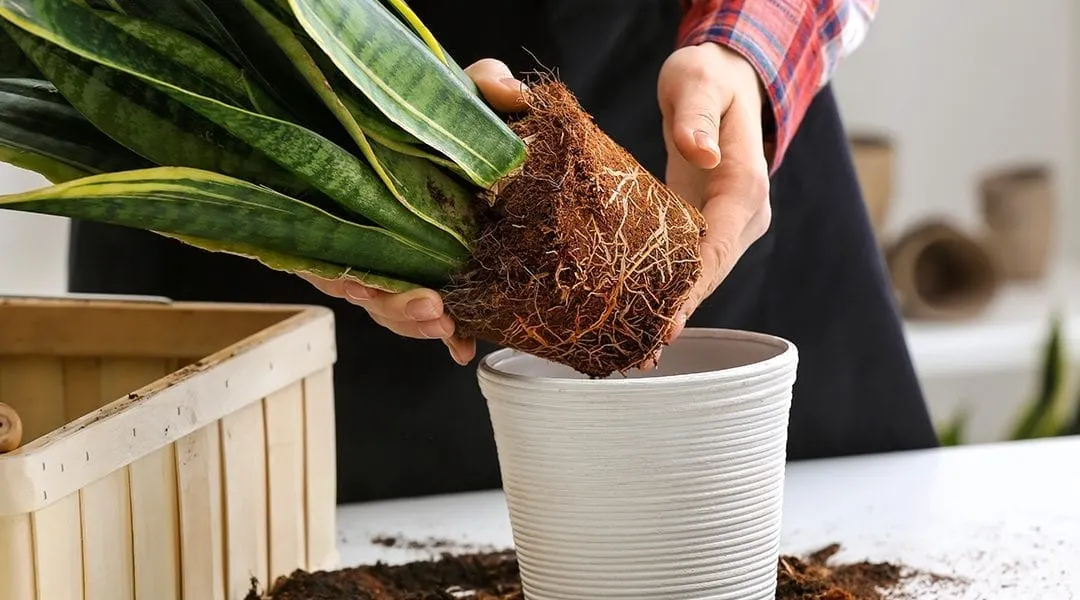
Selecting the pot that you want to move your plant into is the first step. To ensure that your plant has enough room to grow, you should probably choose a pot that is bigger than the one it is now growing in.
Select a pot that is one or two sizes bigger than the current pot. However, do not select a pot that is too large for your plant, as this may lead to problems like root rot.
Since most varieties of plants prefer to have adequate drainage, we advise selecting pots with drainage holes. If your indoor plant is indoors, put a saucer underneath it to catch runoff and prevent damage to the floor or furniture.
2. Prepare the Plant’s New Home
Make sure the new pot is ready to serve as a good home for the plant before starting the relocation process. Repotting is the ideal time to add compost and fertilizer to the soil to replenish its nutrients.
For optimal results, find out what kind of soil composite the plant you’re repotting requires. Since “transplant shock” can occur in certain plants, you might want to add some of the old soil to the new container.
Make sure the pot has enough room for the plant and more soil to be added on top when you add the soil. To prepare the soil for the new plant, you dig a small hole in it.
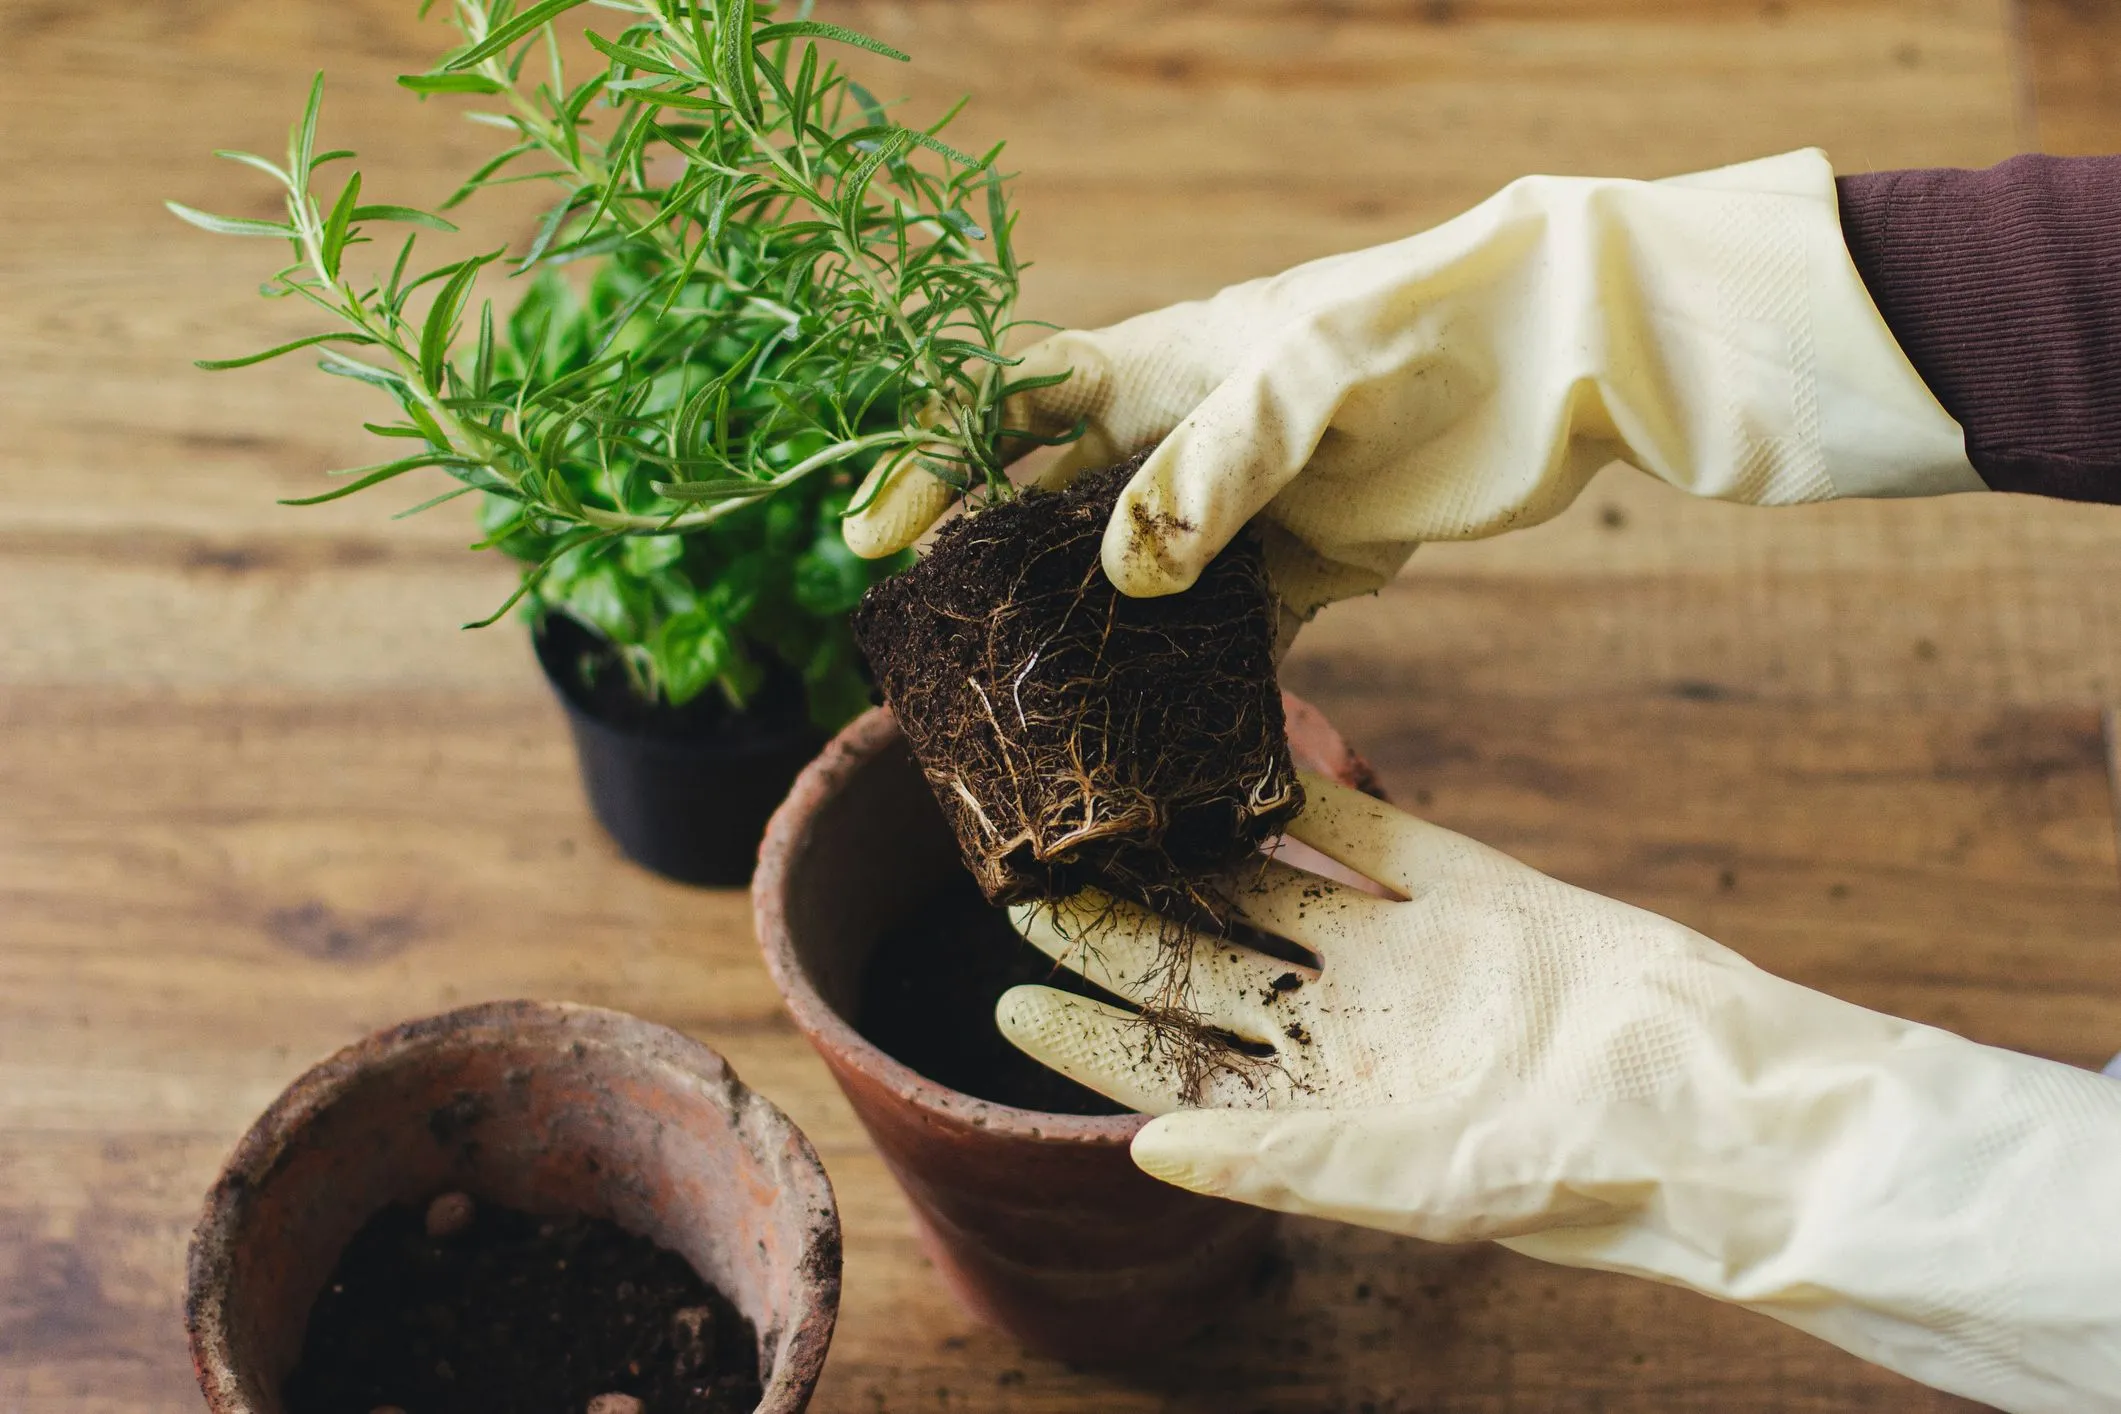
3. Take Out the Outdated Potting Mix
Take out at least one-third of the old potting mix that is encircling the roots of the plant.
You should give your plant a new potting mix or soil because as it grows, it may have taken up all of the nutrients in the existing mix.
4. Replace the Potting Mix
Fill the vacant planter with a layer of new potting soil, making sure to tamp down any air pockets.
Before adding the potting mix, cover the bottom of the planter with lava rocks or anything comparable (rocks, gravel, etc.) if it doesn’t have a drainage hole.
To divert excess water from your plant’s roots and into fissures is the aim.
5. Keep an Eye on it
After you have repotted your plant, observe it over the next few days. Your plant should be growing and thriving normally if the repotting was done correctly.
Yellowing leaves and a withering plant are common indicators that the repotting did not succeed. Verify that your plant is receiving the same amount of light and temperature and proper drainage.
Repotting your houseplants is usually best done in the early spring before the growth season officially begins.
How to Tell if a Plant Needs to Be Repotted

There are multiple telltale signals that a plant is too big for its container.
The most noticeable are the roots themselves, which frequently protrude through the pot’s bottom drainage holes when containers get overly full.
Occasionally, the plant’s roots begin to push it upward and out the top of the container.
The following are signs to look out for repotting your plant:
1. The planter’s bottom drainage hole is being invaded by roots.
2. Plant roots are forcing it upward and out of the planter.
3. Plant growth is slower than usual; this is not the same as winter dormancy.
4. The plant is very top-heavy and easily topples over. It dries out faster than usual and needs to be watered more frequently.
5. Observable mineral and salt accumulation on the plant or planter
While most plants need to be replanted every 12 to 18 months, some slow growers, succulents, for example, which have smaller root systems than most common tropical houseplants, can live in the same pot for many years. Knowing when to repot a plant is important.
What You Should Not Do When Repotting Plants?
Although repotting plants is an easy task, there are a few techniques up your sleeve to make the most out of this basic plant care.
The top four(4) Don’ts for repotting plants are listed below:
1. Don’t (usually) Scale Down
When repotting, you will typically either stay the same size or go up in size.
Repotting in a smaller pot is only beneficial if you are propagating the plant and splitting it into two or more young plants, or if you are repotting a plant that has experienced root rot and has very few healthy roots remaining.
2. Avoid Repotting in a Large Container
Giving plants greater space to grow is a major component of repotting. Still, you don’t want to offer them an excessive amount of space.
Why is this the case? The majority of plants want their roots to be closely spaced. A too-large pot might result in unhealthy roots and a generally unhappy-looking plant.
3. Never Let Air Remain in the Soil
When repotting, make sure the fresh soil for your plant is densely packed. This guarantees that the plant’s soil is as nutrient-dense as possible while also giving it more stability!
4. Avoid Fertilizing Immediately Following Repotting
Relocating may be rather stressful! After repotting, give your plant at least a week or two to adjust before adding any plant food.
When repotting a plant, the greatest time to do so is in the spring through early summer, when the days are longer and the sunshine is stronger, giving the plant the best chance of thriving in its new home.