We have some good news if you’ve always wanted to know how to build a deck. But have been afraid to take on such a significant and intricate construction project.
The right methods for constructing a modest, basic on-grade deck. All you need to succeed in do-it-yourself deck building is a few basic carpentry tools and a willingness to put in some effort.
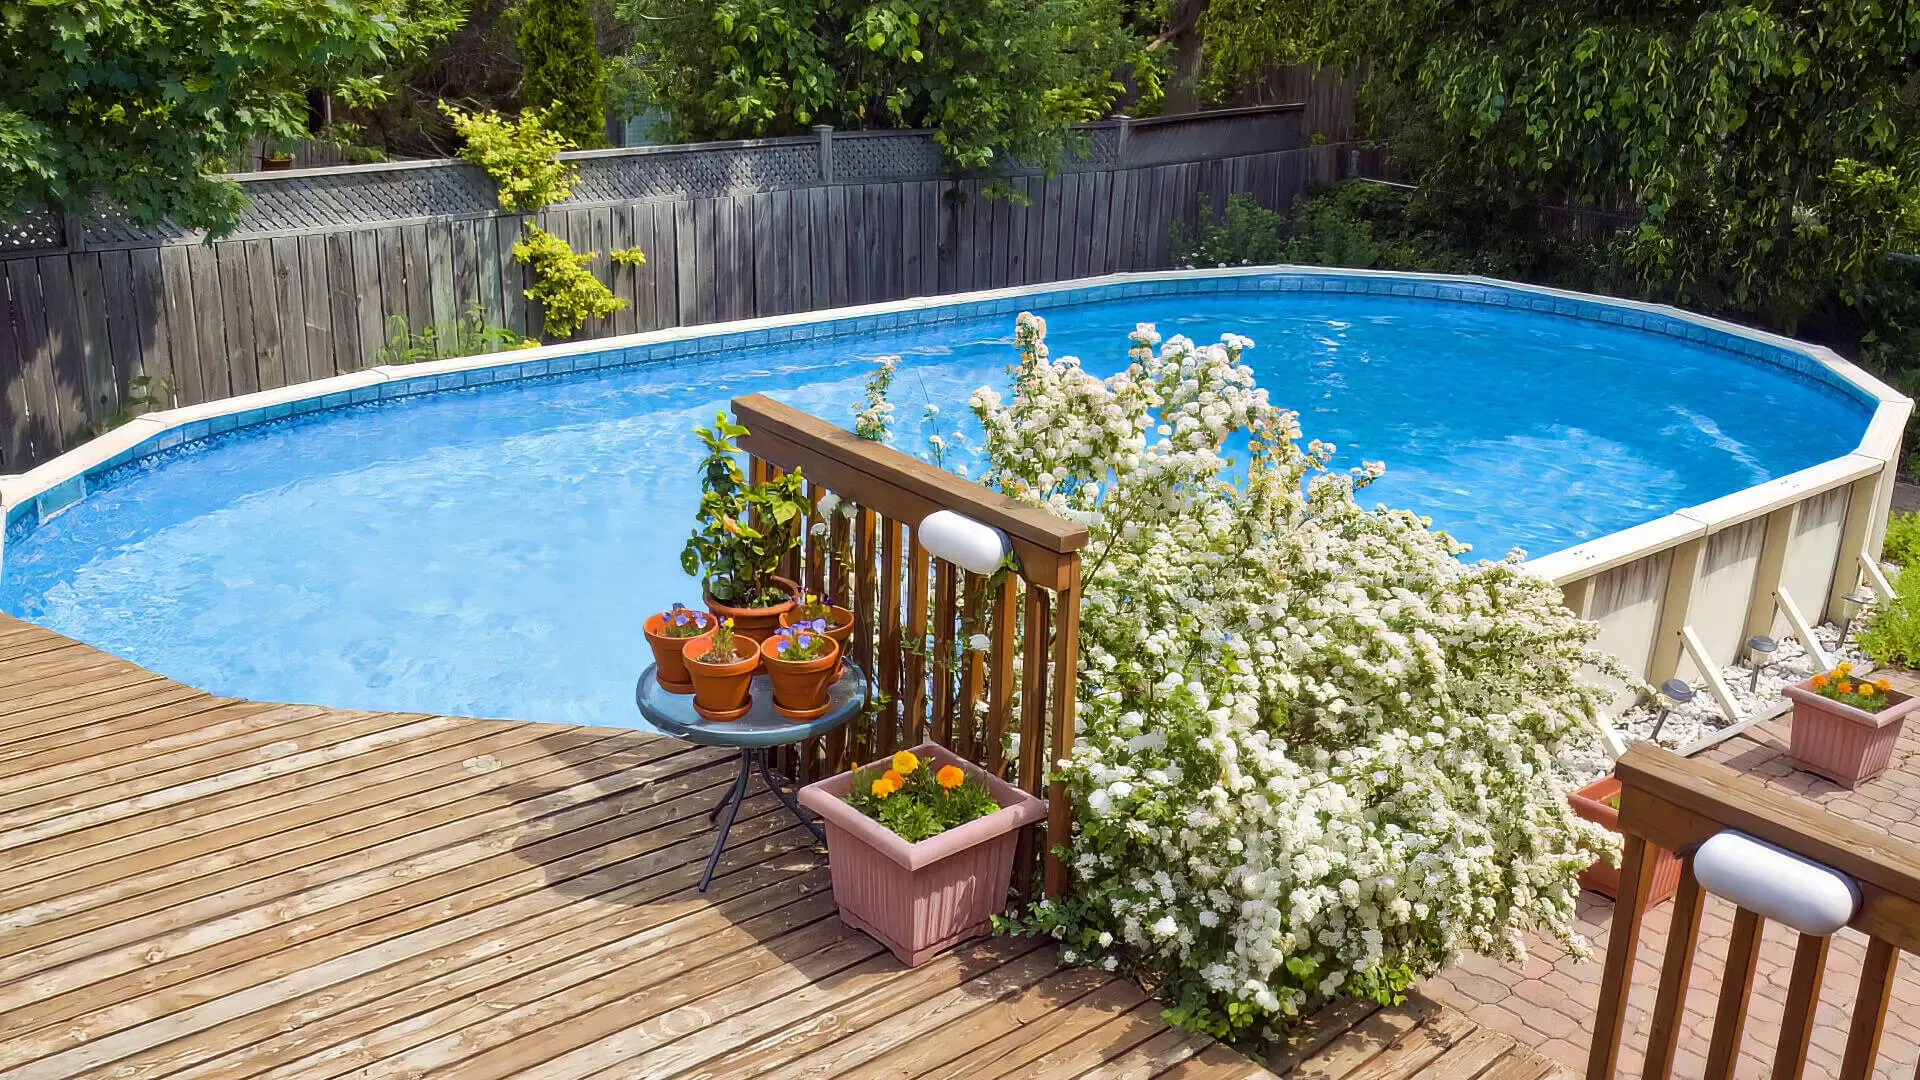
The deck displayed here has a 5/4-inch deck on top of a pressure-treated floor frame that is held up by concrete piers and a ledger board.
Additionally, there was no need for a railing because the deck was only one step high. Now just construct your backyard haven. It’s a terrific method to enrage your neighbors.
How to Build a Deck Like a Pro
Posts, steps, or railings are not necessary for an on-grade deck that is built slightly above the ground.
However, it has the same joists, beams, and piers as any other deck ledger. Determining the sizes of the framing material is the first step in building one.
The nominal width of the boards (in inches) should match the span (in feet) for rim joists or beams constructed from doubled-up 2x lumber.
For a rim joist spanning ten feet, two 2x10s are needed. One identically sized board serves as the basis for the ledger.
Cuts the span in half for inside joists and then adds two; an 8-foot-long joist calls for a 2×6. (Always round down odd or fractional integers to the next even number.)
Step 1: Connect the ledger
Trim and siding on the structure should be removed so that the top of the ledger is one foot above the ground. Apply a waterproof membrane that sticks to it to cover the exposed sheathing.
Note the precise location of the ledger’s top. (By code, any descent to the top of the ledger, the finish decking, must be 4 to 7¾ inches below the door sill.) Draw a straight chalk line.
For every 2 feet of ledger length, cut a treated wood spacer that is 2 inches wide and 1½ inches thick. Place a 6d nail through the top of each spacer to secure it to the chalk line.
Using a 16d nail, secure the ledger to the wall at each spacer by aligning it with the tops of the spacers. (Ledger board joints ought to land on spacers.)
At each spacer, drill a 3⅜-inch pilot hole in a zigzag pattern through the ledger and into the house’s rim joist. Using an impact or socket wrench put a ½-inch lag screw into each hole and tighten it against a washer.
Step 2: Keep the Ledger Safe
Cut a waterproof membrane strip that sticks to it, six inches wide and the same length as the ledger.
To create a right angle, fold the membrane lengthwise along its middle line. Place it over the junction connecting the ledger to the house, with one leg covering the top of the ledger and spacer blocks and the other leg reaching up the wall.
As long as the ledger and at least 6 inches broad, cut a flashing strip of metal. (If more than one flashing strip is required, bury the ends in siliconized acrylic caulk and overlap the ends by three inches.)
To create a right angle, fold the metal lengthwise. Over the waterproof membrane, apply it.
Every eight inches, drive roofing nails into the top border of the flashing.
Using joist hanger nails, secure concealed-flange double joist hangers at both ends of the ledger and flush with its bottom edge.
Step 3: Install Piers and Footings

Determine the footing positions at the outside corners of the deck and 8-foot intervals along the front rim joist. Set up batter boards and Mason’s strings. Once every spot has been marked, take the mason’s strings out of storage.
Dig a hole that is both deep enough to go below the frost line and wide enough to support the footing form at each footing position.
Following the manufacturer’s directions, assemble the footing and pier forms, then place one in each hole. Backfill gently.
Run a level line from the top of the ledger to the pier tube to find the finished height of each pier.
Measure the pier’s distance from the house down to 1/16 inch each foot along with the rim joist and post base heights from this line.
At this point, mark the form. Continue with every pier. At these points, trim the pier tubes.
Verify the pier locations and make any required adjustments. Pour in concrete, smoothing down any air pockets using a shovel. Give the concrete a week to cure.
Step 4: Install Side Rim Joists and Post Bases
Mark the location of a post base by placing it atop a pier and situating it such that it won’t obstruct joist hangers.
Take off the post base and use a hammer drill fitted with a masonry bit to bore into the pier. With an impact wrench, tighten the anchor bolt after moving the post base. Continue with every pier.
For the side rim joists and beams that are doubled, cut pressure-treated 2x material. Use construction adhesive to adhere them together, then use 12d nails spaced 16 inches apart to create a zigzag pattern.
At one end of the ledger, fit a side rim joist into a joist hanger, square the corner, and use 16D nails to toenail through the hanger and into the ledger.
Place the opposing end of the joist on a corner pier. Proceed with the opposite side joist, taking off the mason’s strings if required.
For the front rim joist of the deck, cut pressure-treated 2x stock. Any butt joints should be spaced apart by different board lengths, with the joints falling in the center of the post anchors.
Step 5: Install Beams, Interior Joists, and Front Rim Joists
On the ends of the inner 2xs of the front rim joist, fasten concealed-flange double joist hangers. The inner 2xs should then fit into the post bases.
Square the corner after inserting a side rim joist into a front hanger. Using hanger nails, fasten the front rim joist 2x to the post bases. Next, insert six 16-d nails into the end of the side rim joist and through the face of the front rim joist. Continue with the opposite side rim joist.
Face-mounted double joist hangers for beams should be installed flush with the bottom edges of the front rim joist and ledger, every eight feet in the center.
Fit and nail each beam. Attach the outer and inner 2xs with glue and nails to finish the doubled front rim joist.
Place two joist hangers 16 inches apart along the beams. (Joists should be flush with the top edge of the ledger, beams, and rim joists once they are put.)
Step 6: Installing Beams, Interior Joists, and Front Rim Joists
Then, pass the joists through the hangers with fit and toenails. Install the joist crown-side up if it has a crown, or a small arc running along its edge.
Step 7: Install Decking and Trim
Paint-grade trim boards, of the same width as the rim joists, should be nailed to their outside faces using two hot-dipped galvanized or stainless finish nails, spaced 16 to 24 inches apart. Miter the joints at the corners and scarf any joints in the run.
Add one inch for overhang when measuring the distance between the trim board’s outside and the wall. At this length, cut the deck boards.
Apply a small amount of marine sealant made of polyurethane onto the upper part of a side rim joist.
Position a straight deck board in the adhesive so that one inch of its long edge extends past the trim board. Using an 8D finish nail, fasten the deck board’s ends together.
To keep the spacing uniform, tack 8D finish nails into the joists next to the first board. Apply small amounts of glue to the upper part of every joist.
As previously, lay and fasten the subsequent deck board. Glue and nail the deck together until it is finished.
Reinstall the siding on the home to between ½ and 1 inch from the deck.
What is the Best Time to Build a Deck?
The best time of year to build a deck is in the early fall, especially if you employ experts to do it. For builders, that is typically when job orders start to drop off.
Since the ground isn’t frozen, working with it is simple. In most places, the weather is still dry and the temperature is lower. If the deck is finished by fall, it will be usable by spring of the following year.
However, as a do-it-yourselfer, you could feel pressure to finish the deck by the onset of winter if you start construction in the fall.
Therefore, starting the deck build in late spring will result in longer workdays and drier, warmer weather if you don’t mind losing a few weeks of deck utilization.
How Much Will it Cost to Build a Deck?
Depending on the size of the deck, constructing a small attached deck with pressure-treated wood floors on your own would run you between $2,000 and $5,000.
In the United States, the typical cost of a professionally constructed 300-square-foot deck with two benches, steps, and a railing is more than $14,000.
One of the biggest influences on the total cost of the deck is the selection of deck floorboards. The least expensive option will be pressure-treated wood flooring.
The cost of wood composite decking might increase by up to four times. Tropical hardwood species like ipe are at the top of the decking pricing range.
While building a deck yourself can save costs, there are additional considerations. Square or rectangular decks that are one level are easy to construct on your own.
It could be advisable to hire professionals if you need different shapes, numerous levels, or accessories like benches.