How to read a tape measure is easy when you know how to do it perfectly well. You need to take a quick measurement, but how do you make sense of all the markings on your measuring tape?
The lines on the tape measure make it easier to acquire an exact reading, and if you grasp them, it’s quite simple to figure out how to read a tape measurement.
We’ll show you what each line on your tape measure means so you can precisely determine the size of any object.
How to Read a Tape Measure
The tips attached to standard measuring tapes often have sixteen line markings for every sixteenth of an inch.
Additionally, many display line markings as small as 1/32 of an inch. So how one can read a tape measure with all those lines most quickly and easily possible?
I believe that creating a visual infographic with labels for each of the 16-inch markers is the simplest approach to comprehending and learning what they mean.
The tape measure infographic above illustrates this with line markings arranged from longest to shortest, representing:
The entire measurement is in inches, such as one, two, three, etc.
A half-inch
One-fourth of an inch: 1/4 and 3/4
The 1/8, 3/8, 5/8, and 7/8-inch eighths of an inch
1/16, 3/16, 5/16, 7/16, 9/16, 11/16, 13/16, and 15/16 inches are the sixteenths of an inch.
In any case, to keep things easy, simply follow the downloadable guide and you’ll quickly become familiar with the tape measure marks! To make things even simpler, you may, of course, get an easy-to-read tape measure!
How to Read a Tape Measure in Tenths?
Measuring tapes are available in several sizes and applications, including retractable measuring tapes used by contractors and fabric tape measures used by seamstresses.
Inches and fractional inches are displayed on the standard tape measure. The tape measure’s tiniest marks show up to 1/32 of an inch.
Converting fractional measures to decimal measurements up to 1/100 of an inch necessitates using a calculator quickly.
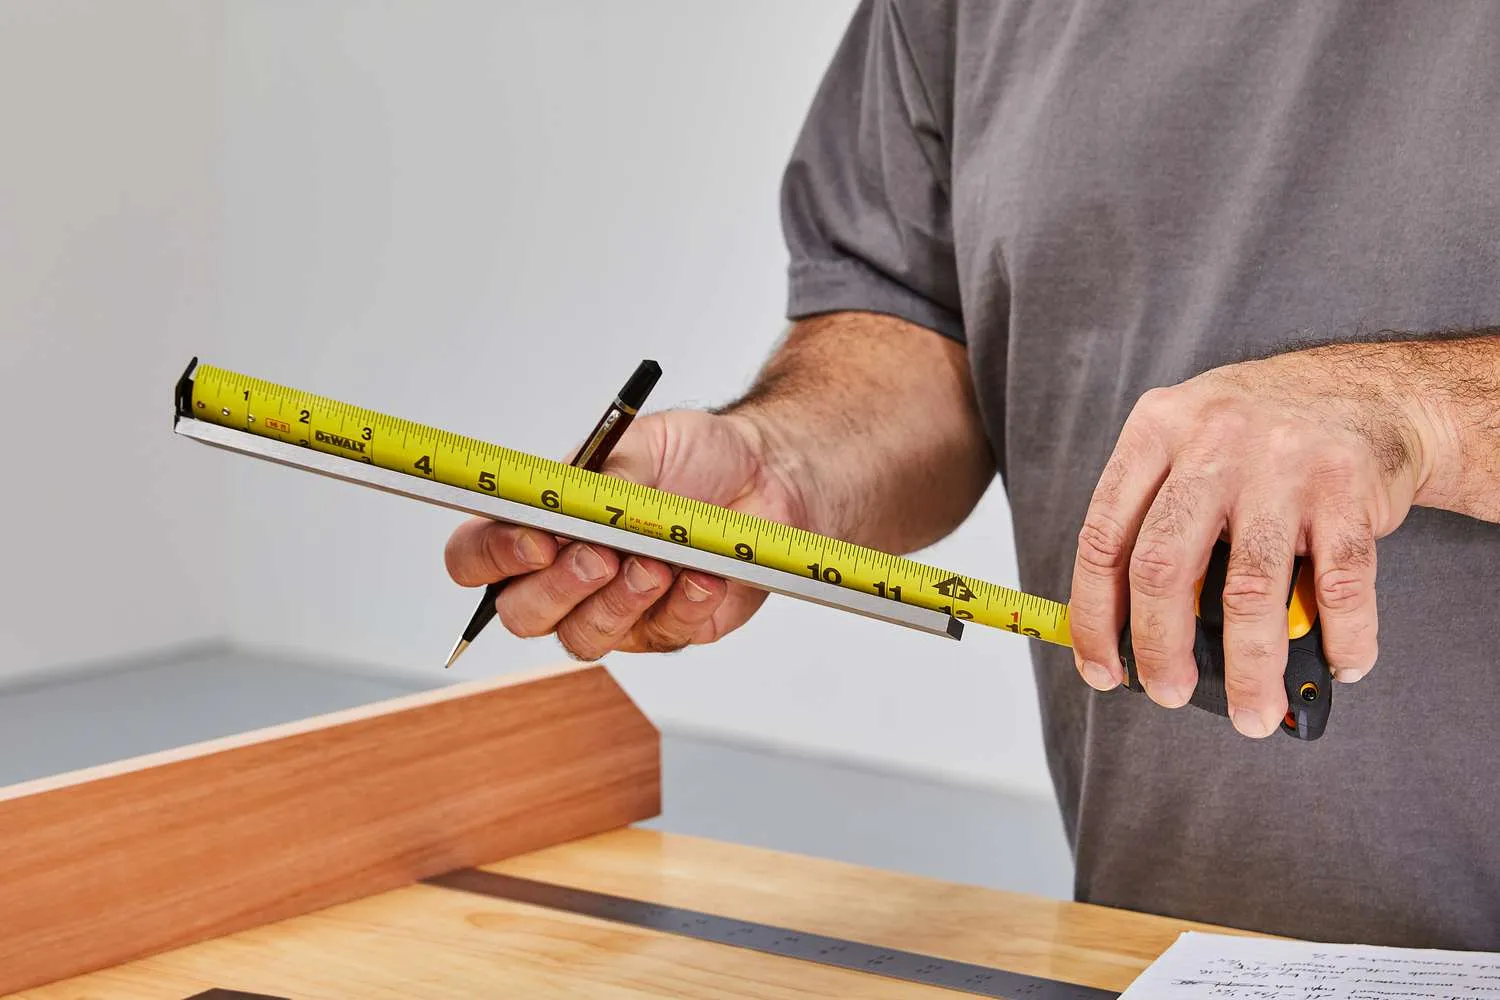
A tool is only as good as the person who employs it. That’s an adage, but it’s true, and it also applies to tape measures.
They are only useful if the person using them understands how to obtain an accurate reading.
Let’s take a look at the steps to measure a tape accurately.
Step 1
With a pencil and paper, carefully measure the object with the measuring tape, noting the accurate measurement, including the fractional measurement.
Step 2
Divide the fraction’s upper component by the fraction’s lower number. Divide 3 by 4 to find the decimal equivalent of 3/4 inch.
Step 3
Long numbers should be rounded to the third digit for instance, 3/16 inch equals 1875. Because the third digit is a 7, which is greater than 5, the second digit is rounded up to 19.
The third digit in a measurement of.1846 is less than 5; thus, the result is 18. Round any second digit followed by a third digit more than or equal to 5 up to the next greatest number.
Step 4
Convert between rapid and standard measurements without using a calculator. A half-inch equals 5. One-quarter inch is equivalent to 25. Three-quarters of an inch is equivalent to 75.
Things to Use to Read Tape Measure Accurately
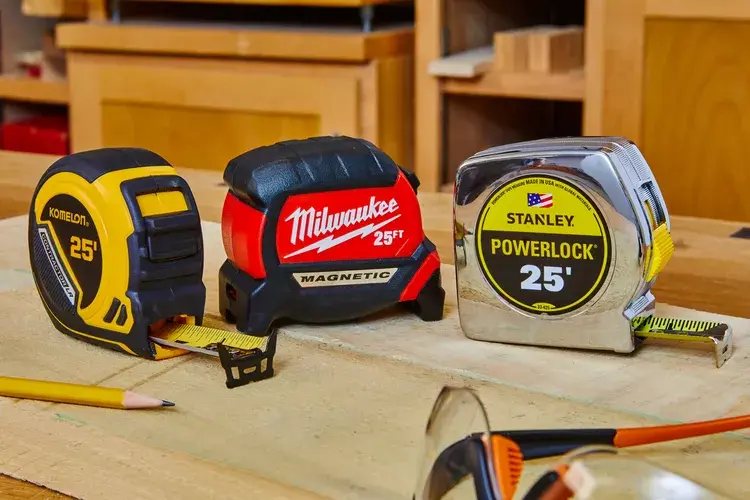
Tape measures range from 6 ′ to 40 ′ (much larger).
Small tapes are useful for indoor projects such as hanging artwork or measuring furniture, whereas longer tapes (25 ′ and higher) are appropriate for large-scale projects such as framing, decking, and outdoor projects.
There are a few crucial components to understanding tape measures, so let’s begin by recognizing them:
1. Tape
This is the most crucial element of the tape measure since it contains all of the numerical measurements that we will need to measure. The tape is essentially a yellow spiral rule that can be wide or thin.
A broader tape may be stretched further without bending and last longer than a small, narrow tape. The tapes are additionally curled to keep their shape even when stretched to enormous lengths.
It is vital to note that the wider the tape, the more difficult it will be. Indeed, it is because of this property that the tape can be stretched so far without bending.
2. Hook-shaped Pull Tab
This section of the tape measure allows it to hook onto the end of whatever you’re about to measure.
It stops the tape from remaining outside the enclosure when backing up.
3. Case and Belt Clip
The component of the tape measure that contains the tape, which might be made of plastic or metal, is referred to as a box.
Its purpose is to keep the spiral tape from growing. On the other hand, at the back of the shell, there is a clip for the belt, which allows for easier access while working.
4. Stop Button
To begin, the stop button is connected to a flat spring wrapped around a post inside the housing.
This spring allows the tape to retract after it has been expanded. If we wish to hold the tape in place, we can use the lock or stop button.
Although they both serve the same fundamental purpose, measuring tapes differ from rulers in that they are more flexible and can be used to measure around and within objects, whereas rulers are only good for straight edges. Measuring tapes, like rulers, come in a range of calibrations.